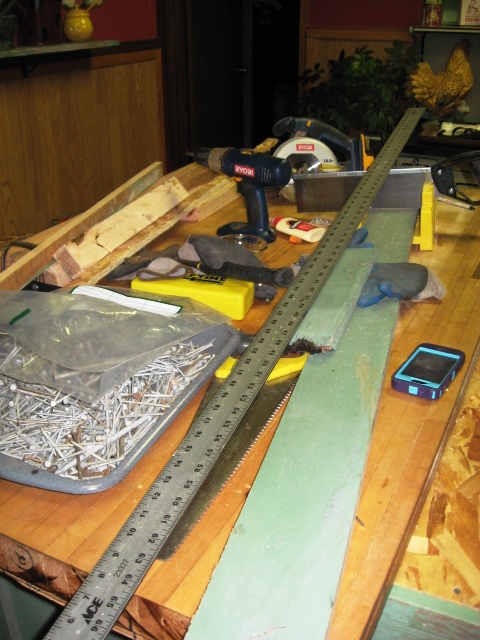
A couple of years ago I bought a section from one of the old Sitka bowling alley lanes to make a butcher block top kitchen island. Well, years went by and it didn't get done, and it didn't get done. Then, last year I aquired some old doors and got the idea to frame out the island with the doors set on edge. The pictures were taken over the last several months.
Of course, the doors were not all the same width, so some "patching" was necessary....
Nothing a little moulding can't fix....fortunately I had some boards with the same paint on them....
The boards weren't wide enough to cover up the scar left from the door knob plate, but who cares? This project is supposed to look rustic and homemade....a shabby chic antique. The perfect project for me.
Here's a view of the inside....
Next, plywood for the bottom shelf...
Check out the light colored piece of pergo flooring....who in their right mind would do that?
Then the shelf was pulled out to use for a pattern for the upper shelf, both are varnished, and put back in...
Right away I felt like access to the bottom shelf was now greatly restricted by the top shelf. Levi suggested some cutouts, so we hauled the top shelf to the high school wood shop....
a.k.a. "heaven"
....and he helped me reshape it....
That's better!
Then it was time to assemble the vertical storage units for cookie sheets and such...
Okay, exact workmanship does come in handy sometimes....I put the strips too close together and the dividers were a @$%&*&%^$#% to get in! Help was required....
That and a little shaving with a hand wood planer...
I was pretty mad in this photo...
Things were not going smoothly and my kitchen looked like this...
But the end result was worth all the blood, sweat, and tears...
Gotta love vertical storage....no more digging around in the stupid shallow drawer under the stove!!!
At this point in time the project came to a halt. Then, when Mr. Adams and Ron were in town last week, we all took the butcher block top to the high school wood shop to finish it.
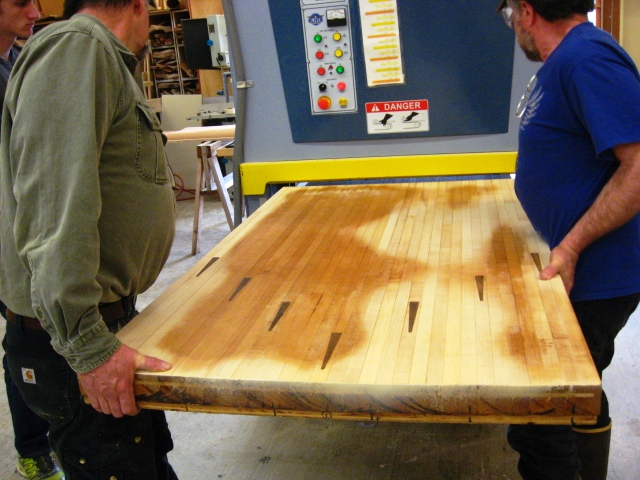
The first thing we decided to do was run the top through the thickness sander to brighten it up and make it smooth and flat on top. This required some consultation with Mr. Hughey....
Once the plan was set the guys started running it through....
And over....
And over.... It was interesting...even Bill Steinbach stopped on his way by to watch!
By the way, that thing was extremely heavy....
That's why we waited for Mr. Adams!
How far do you go?
Some nail heads are starting to show up and we were worried about messing up the black walnut insets.
Unfortunately we didn't get it all, this was the last pass....
Next, we worked up some trim boards from some Black Walnut that my Dad gave me. He has Black Walnut trees on his farm in Oregon. The lumber is absolutely gorgeous!
Then we fitted and screwed the boards to the edges of the butcher block...
Once we got it home the guys took a router to it and rounded all the edges and corners. We did compromise one of the black walnut insets, but some day will just replace it.
I just love it!!!!!


Oh my word, build me one, please!!! That is beautiful, and so 'you.' And it seems like it's pretty handy to have a son in the house. :)
ReplyDeleteYes, boys have their uses!!
DeleteLori, you are my hero and have inspired me!!! I need a new island and I have old doors! Hmmm...the wheels are turning. I have never made anything like this before...
ReplyDeleteGO FOR IT!!!
ReplyDeleteLori, Just got your letter love the island. What a great idea for the doors. Just found old pot belly stove at Aunt's house going to fix up send pics soon. Hope family is well have a great summer. Peggy Cassano
Delete